Landing is the part of flying that every beginner finds most challenging — and most rewarding when you get it right. Learning to land in MSFS 2024 takes practice, but it’s really just a series of steps that get easier every time you do them.
This guide walks you through how to land in MSFS 2024 step by step — from setting up your approach to touching down smoothly on the runway. We’ll use the Cessna 172 as our example, but the same principles apply to any small aircraft.
The Traffic Pattern — Setting Up Your Approach
Before you land, you need to fly a traffic pattern (also called a circuit). This is a rectangular flight path around the airport (known as a traffic pattern) that positions you for a smooth approach to the runway. Here’s how it works:
- Upwind leg: The direction of takeoff, flying along the runway.
- Crosswind leg: A 90° turn, flying perpendicular to the runway.
- Downwind leg: Flying parallel to the runway in the opposite direction of landing. This is where you prepare for descent.
- Base leg: Another 90° turn, beginning your descent towards the runway.
- Final approach: The last turn, lining up directly with the runway for landing.
Fly the pattern at about 1,000 feet above the airport and at a speed of around 90-100 knots in the Cessna 172. The pattern gives you a structured way to set up every landing consistently.
Step 1: Downwind — Prepare for Landing
As you fly the downwind leg (parallel to the runway, going the opposite direction), begin your landing preparation:
- Reduce throttle to about 1,500-1,700 RPM to begin slowing down.
- When abeam (beside) the runway threshold, extend flaps to 10°.
- Trim for a gentle descent at about 500 fpm.
- Aim for an airspeed of about 80-85 knots.
Step 2: Base Leg — Begin Descending
Turn 90° onto the base leg when the runway threshold is about 45° behind your wing. This is where your descent becomes more deliberate:
- Extend flaps to 20°.
- Reduce speed to about 75 knots.
- Adjust throttle to maintain a steady descent — you should be losing about 400-500 feet per minute.
- Re-trim as needed to hold the descent without constant stick pressure.
Step 3: Final Approach — Line Up with the Runway
Turn onto final approach, lining up with the runway centre line. This is the critical phase where everything comes together:
- Extend flaps to full (30° in the Cessna 172).
- Target airspeed: 65-70 knots.
- Use throttle to control your descent rate — more throttle = shallower descent, less throttle = steeper descent.
- Use pitch to control your airspeed — nose up = slower, nose down = faster.
- Keep the runway centred using small roll and rudder corrections.
Key concept: On final approach, throttle controls altitude and pitch controls speed. This is the opposite of what many beginners expect, and it’s one of the most important things to understand when learning how to land in MSFS 2024.
Step 4: The Flare — Transitioning to Touchdown
The flare is the final manoeuvre before touchdown. When you’re about 10-20 feet above the runway:
- Reduce throttle to idle (fully back).
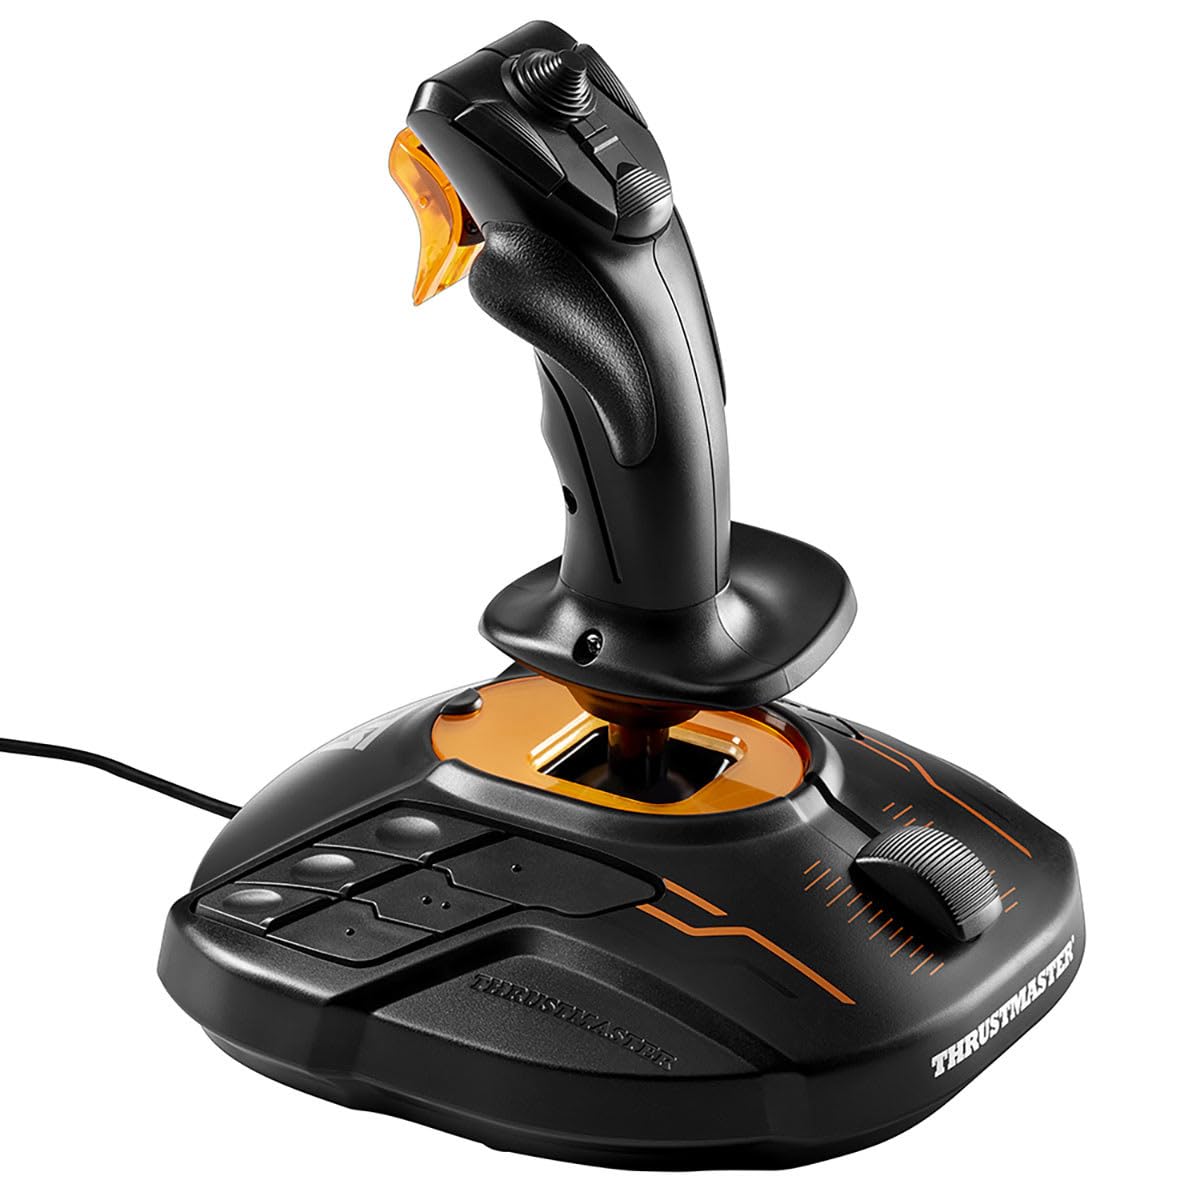
- Gently raise the nose by pulling back on the stick. This slows your descent rate and airspeed simultaneously.
- Hold the flare — don’t push the nose back down. The aircraft will settle onto the runway as speed bleeds off.
- Touch down on the main wheels first (the rear wheels). The nose wheel comes down gently after.
The flare is the hardest part to master. Common mistakes include flaring too high (floating above the runway), too low (hitting hard), or not enough (landing nose-wheel first). Practice is the only cure — and even experienced pilots don’t get perfect landings every time.
Step 5: Rollout — After Touchdown
Once you’re on the ground:
- Keep the aircraft straight using rudder.
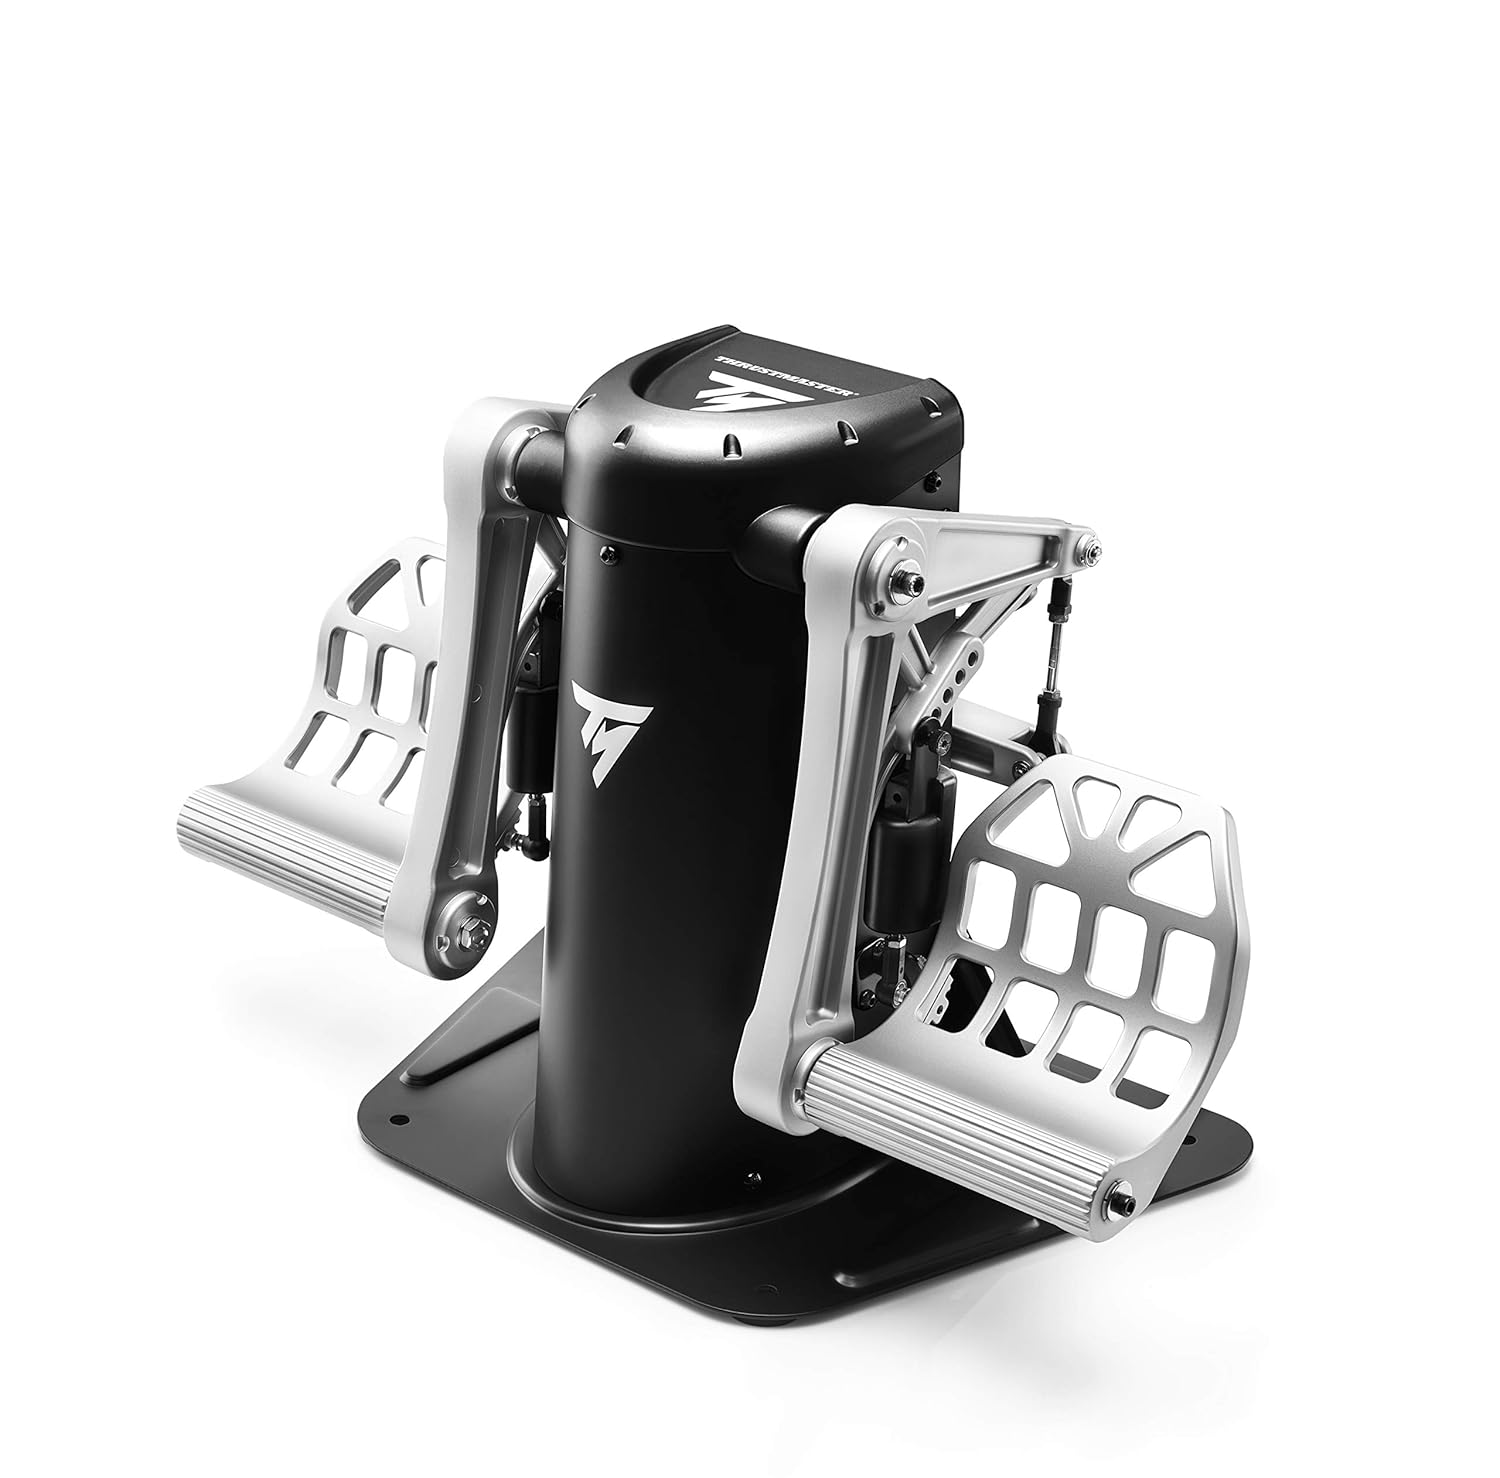
- Gently apply brakes to slow down (toe brakes on pedals, or the period key on keyboard).
- Retract flaps once you’re at a safe taxi speed.
- Exit the runway at the next available taxiway.
Congratulations — you’ve landed!
Common Mistakes When You Land in MSFS 2024
- Coming in too fast: You’ll float past the runway. Slow down earlier on the approach and use more flaps.
- Coming in too high: You can’t reach the runway. Reduce throttle further and start your descent earlier.
- Coming in too low: You’ll hit the ground before the runway. Add throttle to arrest your descent.
- Flaring too high: The aircraft stalls above the runway and drops. Flare lower — closer to 10 feet, not 50.
- Landing nose-wheel first: Always touch down on the main wheels. Keep pulling back during the flare.
- Forgetting to trim: Fighting the controls the whole approach. Trim properly and you can focus on precision.
Quick Reference: Cessna 172 Landing Numbers
- Pattern altitude: 1,000 feet above airport
- Downwind speed: 80-85 knots, flaps 10°
- Base speed: 75 knots, flaps 20°
- Final speed: 65-70 knots, flaps 30° (full)
- Descent rate: 400-500 fpm
- Flare height: ~10-20 feet AGL
What’s Next?
Now you know how to land in MSFS 2024 safely — at least the theory. The rest is practice. Here’s where to go from here:
- How to Take Off — Practice the complete cycle: takeoff, pattern, landing, repeat.
- Cockpit Instruments — Read your gauges confidently during the approach.
- MSFS 2024 Beginner’s Guide to Your First Flight — Step-by-step walkthrough of your first 30-minute flight, from World Map to touchdown.
- Your First Flight — A complete guided flight from start to finish.
- Advanced Landing Techniques — Ready for crosswinds and ILS approaches? Head to our landing section.
Every pilot in history has bounced a landing or two. Don’t get discouraged — the best way to learn to land in MSFS 2024 is to do it over and over. Each attempt gets smoother. Before long, you’ll be greasing landings like a pro. Happy flying! ✈️